Using Vagrant to set up an Ansible Environment
Vagrant is a tool for creating, managing and sharing Virtual Machines. It’s really helpful for creating contained environments with specific requirements that can be easily built up, tore down and shared with others. It’s especially helpful if, like me, you have to spend time working on a Windows laptop, because, well, Enterprise.
Following on from my previous post,
I’ve found that Vagrant is a fairly painless way to expose the network engineers
I work with to Ansible. Once it’s installed, I can share a zip file for them to
unzip and run vagrant up and vagrant ssh from the command line, and they’re
in a working Ansible environment. And if they mess something up, they can just
destroy it and start again, no bother.
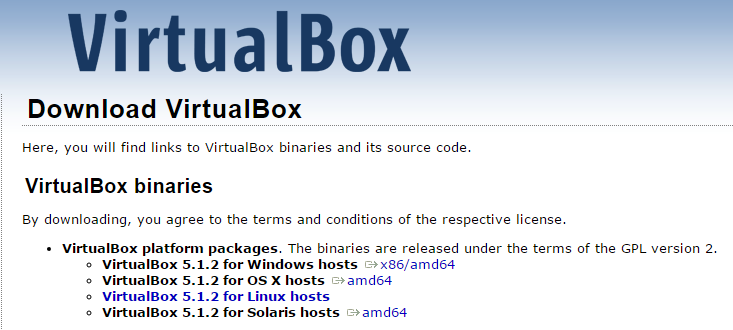
Vagrant manages VM’s through a hypervisor, with the default being Virtualbox,
though you can use VMware if you have the extra cash. Therefore we need to
install Virtualbox first, from here.
We’re going ot grab the Windows .exe file. Double click on it, and follow
the defaults through to the end.
Now we can install Vagrant, from here,
grabbing the Windows .msi file, double clicking on it once it’s downloaded and
following the defaults.

Vagrant is a command line tool, so you’re gonna have to be comfortable on the
command line, not too much, just enough to know what it is, how to access it
and how to navigate the directory structure, whether it’s through cmd.exe or
Powershell. I’m not going to go into any of that here, but I would recommend
getting cmder if you’re going to spend any sort of time
on the Windows command line.
So, at your command prompt, if all has been successful you should be able to
type vagrant --version and get the version of vagrant you have installed:
Vagrant 1.8.4
Grand. The beauty of Vagrant is that it’s configured from a simple text file,
the Vagrantfile. To create one, start a new directory, and then, on the
command line, navigate to within this new directory and type vagrant init.
This will create a new, highly commented Vagrantfile. Read it, and get an
idea of what the different options are. Like most things, you often start with
a bare bones structure like this basic Vagrantfile, and build it up as you
learn more and your requirements change. Here I’m going to explain the Vagrantfile
I use to set up my Ansible machine.
# -*- mode: ruby -*-
# vi: set ft=ruby :

vagrant_root = File.dirname(__FILE__)
project_name = "acp"

Vagrant.configure(2) do |config|
    config.vm.box = "ubuntu/trusty64"
    config.vm.box_url = "https://atlas.hashicorp.com/ubuntu/boxes/trusty64"
    config.vm.provider "virtualbox" do |vb|
        vb.memory = "1028"
        vb.cpus = "1"
    end

    config.vm.define "#{project_name}" do |machine|
        machine.vm.hostname = "#{project_name}"
        machine.vm.synced_folder "#{vagrant_root}/shared", "/home/vagrant/shared"
        machine.vm.provision :shell, :path => "#{vagrant_root}/ansible-setup.sh"
    end
end
Vagrant is written in Ruby, and the first two lines are to do with the Ruby language. Next up we have a couple of variables:
vagrant_root = File.dirname(__FILE__)
project_name = "acp"
vagrant_rootis the current working directory of the Vagrantfileproject_nameis the name of the project, here it isacpfor Ansible Cisco Playground.
The next section of the Vagrantfile starts the machine configuration:
config.vm.box = "ubuntu/trusty64"
config.vm.box_url = "https://atlas.hashicorp.com/ubuntu/boxes/trusty64"
config.vm.provider "virtualbox" do |vb|
    vb.memory = "1028"
    vb.cpus = "1"
config.vm.box = "ubuntu/trusty64"defines the base operating system, or Vagrant box, for the VM, here we’re using the official Ubuntu 14.04 Server image, but this can be changed to any one of a multitude of Vagrant boxes, that can be found hereconfig.vm.box_url = "https://atlas.hashicorp.com/ubuntu/boxes/trusty64"is the url where this box isconfig.vm.provider "virtualbox" do |vb|this says that if theprovider, the hypervisor, is Virtualbox, do the followingvb.memory = "1028"gives the VM 1 GB of RAMvb.cpus = "1"gives the VM 1 CPU
The last section is where it gets interesting…
config.vm.define "#{project_name}" do |machine|
    machine.vm.hostname = "#{project_name}"
    machine.vm.synced_folder "#{vagrant_root}/shared", "/home/vagrant/shared"
    machine.vm.provision :shell, :path => "#{vagrant_root}/ansible-setup.sh"
end
config.vm.define "#{project_name}" do |machine|here we start to define some parameters for the machinemachine.vm.hostname = "#{project_name}"defines the hostname of the machine as the project namemachine.vm.synced_folder "#{vagrant_root}/shared", "/home/vagrant/shared"this sets up a shared folder between the VM and the host computer, my laptop."#{vagrant_root}/shared"is a folder on the host, within the same directory as the Vagrantfile,"/home/vagrant/shared"is a folder in the vagrant user’s home directory on the VM. These folders will be synced, any changes made in one will be reflected in the other. This means I can edit and version control files on my host machine, using my usual workflow, and I can use them easily in the VM, rather than having to do this work inside the VM.machine.vm.provision :shell, :path => "#{vagrant_root}/ansible-setup.sh"this defines the path to a shell script that provisions the VM, installing Ansible. There are different options for provisioning the Vm, including Ansible itself, woah, meta! but I find for small environments like this a shell script does fine.
This is the ansible-setup.sh file:
#!/bin/bash
TZ=Europe/London

echo "+-----------------------------------------------+"
echo "| Provisioning Ansible Cisco Playground Machine |"
echo "+-----------------------------------------------+"
echo "Setting timezone..."
sudo timedatectl set-timezone $TZ > /dev/null 2>&1
echo "Adding dependencies..."
sudo apt-get install software-properties-common > /dev/null 2>&1
echo "Adding Ansible repo..."
sudo apt-add-repository ppa:ansible/ansible > /dev/null 2>&1
echo "Updating apt-get..."
sudo apt-get -y update > /dev/null 2>&1
echo "Installing Git..."
sudo apt-get -y install git > /dev/null 2>&1
echo "Installing Ansible..."
sudo apt-get -y install ansible > /dev/null 2>&1
echo "Installing ntc-ansible module..."
sudo apt-get -y install python-pip > /dev/null 2>&1
sudo apt-get -y install zlib1g-dev libxml2-dev libxslt-dev python-dev > /dev/null 2>&1
sudo pip install ntc-ansible > /dev/null 2>&1
git clone https://github.com/networktocode/ntc-ansible --recursive > /dev/null 2>&1
sudo rm -r /home/vagrant/shared/library > /dev/null 2>&1
sudo mv /home/vagrant/ntc-ansible/library /home/vagrant/shared/library > /dev/null 2>&1
echo "+----------------------------------------------+"
echo "| Ansible Cisco Playground Machine Provisioned |"
echo "+----------------------------------------------+"
echo "|                Go build stuff!               |"
echo "+----------------------------------------------+"
There’s a few things going on in there, including the Ansible installation and the installation of Jason Edelman’s excellent third party Ansible library ntc-ansible
Now, if we do a tree /F command in the project directory, we can see everything
we now have, the Vagrantfile, the provision script, the shared folder
(currently empty), and a .vagrant directory I’ve never had to do anything with
since working with Vagrant.
Folder PATH listing for volume Windows
Volume serial number is A879-5C69
C:.
├───Vagrantfile
├───ansible-setup.sh
├───shared
└───.vagrant
    └───machines
        └───acp
Right, we’re ready to go. I’ve found the vagrant commands I use most often are…
vagrant upbrings the machine upvagrant sshestablishes an ssh connection to the VMvagrant haltshuts the VM downvagrant reloadrestarts the VMvagrant destroydestroys the VM
On the command line, inside the Vagrant project directory, type in vagrant up,
and this should, fingers crossed, bring up the new VM. If this is the first
Vagrant machine you’ve created it’s going to take some time to download the
Ubuntu image, 15-20 mins maybe. I already have the relevant Ubuntu image, so it
only takes ~60 secs to bring the VM up. This is the output I get…
Bringing machine 'acp' up with 'virtualbox' provider...
==> acp: Importing base box 'ubuntu/trusty64'...
==> acp: Matching MAC address for NAT networking...
==> acp: Checking if box 'ubuntu/trusty64' is up to date...
==> acp: A newer version of the box 'ubuntu/trusty64' is available! You currently
==> acp: have version '20160708.1.2'. The latest is version '20160801.0.0'. Run
==> acp: `vagrant box update` to update.
==> acp: Setting the name of the VM: ansible_cisco_playground_acp_1470214415769_53070
==> acp: Clearing any previously set forwarded ports...
==> acp: Clearing any previously set network interfaces...
==> acp: Preparing network interfaces based on configuration...
    acp: Adapter 1: nat
==> acp: Forwarding ports...
    acp: 22 (guest) => 2222 (host) (adapter 1)
==> acp: Running 'pre-boot' VM customizations...
==> acp: Booting VM...
==> acp: Waiting for machine to boot. This may take a few minutes...
    acp: SSH address: 127.0.0.1:2222
    acp: SSH username: vagrant
    acp: SSH auth method: private key
    acp:
    acp: Vagrant insecure key detected. Vagrant will automatically replace
    acp: this with a newly generated keypair for better security.
    acp:
    acp: Inserting generated public key within guest...
    acp: Removing insecure key from the guest if it is present...
    acp: Key inserted! Disconnecting and reconnecting using new SSH key...
==> acp: Machine booted and ready!
==> acp: Checking for guest additions in VM...
    acp: The guest additions on this VM do not match the installed version of
    acp: VirtualBox! In most cases this is fine, but in rare cases it can
    acp: prevent things such as shared folders from working properly. If you see
    acp: shared folder errors, please make sure the guest additions within the
    acp: virtual machine match the version of VirtualBox you have installed on
    acp: your host and reload your VM.
    acp:
    acp: Guest Additions Version: 4.3.36
    acp: VirtualBox Version: 5.0
==> acp: Setting hostname...
==> acp: Mounting shared folders...
    acp: /vagrant => C:/Users/robertph/code/ansible/ansible_cisco_playground
    acp: /home/vagrant/shared => C:/Users/robertph/code/ansible/ansible_cisco_playground/shared
==> acp: Running provisioner: shell...
    acp: Running: C:/Users/robertph/AppData/Local/Temp/vagrant-shell20160803-7424-cqcd1j.sh
==> acp: stdin: is not a tty
==> acp: +-----------------------------------------------+
==> acp: | Provisioning Ansible Cisco Playground Machine |
==> acp: +-----------------------------------------------+
==> acp: Setting timezone...
==> acp: Adding dependencies...
==> acp: Adding Ansible repo...
==> acp: Updating apt-get...
==> acp: Installing Git...
==> acp: Installing Ansible...
==> acp: Installing ntc-ansible module...
==> acp: +----------------------------------------------+
==> acp: | Ansible Cisco Playground Machine Provisioned |
==> acp: +----------------------------------------------+
==> acp: |                Go build stuff!               |
==> acp: +----------------------------------------------+
The bottom part is the provision script, this will only run the first time the machine is started. Otherwise the output will be:
==> acp: Machine already provisioned. Run `vagrant provision` or use the `--provision`
==> acp: flag to force provisioning. Provisioners marked to run always will still run.
It will also be a lot quicker bringing the machine up, a few seconds maybe. So much quicker than dealing with Virtualbox manually.
We can check the status of the machine with vagrant status…
Current machine states:

acp                       running (virtualbox)

The VM is running. To stop this VM, you can run `vagrant halt` to
shut it down forcefully, or you can run `vagrant suspend` to simply
suspend the virtual machine. In either case, to restart it again,
simply run `vagrant up`.
And so now that we have a running VM, we need to access it. For this we use the
vagrant ssh command, which will bring us into the VM’s command line…
Welcome to Ubuntu 14.04.4 LTS (GNU/Linux 3.13.0-92-generic x86_64)

 * Documentation:  https://help.ubuntu.com/

  System information as of Wed Aug  3 10:08:49 BST 2016

  System load:  0.48              Processes:           81
  Usage of /:   4.2% of 39.34GB   Users logged in:     0
  Memory usage: 12%               IP address for eth0: 10.0.2.15
  Swap usage:   0%

  Graph this data and manage this system at:
    https://landscape.canonical.com/

  Get cloud support with Ubuntu Advantage Cloud Guest:
    http://www.ubuntu.com/business/services/cloud

New release '16.04.1 LTS' available.
Run 'do-release-upgrade' to upgrade to it.


vagrant@acp:~$
Let’s check Ansible is there…
vagrant@acp:~$ ansible --version
ansible 2.1.1.0
  config file = /etc/ansible/ansible.cfg
  configured module search path = Default w/o overrides
vagrant@acp:~$
Fantastic! Let’s check we’ve got a network to the outside world…
vagrant@acp:~$ ping 8.8.8.8
PING 8.8.8.8 (8.8.8.8) 56(84) bytes of data.
64 bytes from 8.8.8.8: icmp_seq=1 ttl=59 time=20.3 ms
64 bytes from 8.8.8.8: icmp_seq=2 ttl=59 time=19.9 ms
♥
--- 8.8.8.8 ping statistics ---
2 packets transmitted, 2 received, 0% packet loss, time 1003ms
rtt min/avg/max/mdev = 19.930/20.155/20.381/0.266 ms
Sweet. And is our shared folder there…
vagrant@acp:~$ ls -l
total 8
drwxr-xr-x 6 root    root    4096 Aug  3 09:55 ntc-ansible
drwxrwxrwx 1 vagrant vagrant 4096 Aug  3 09:56 shared
There it is, alongside the ntc-ansible module. If we create a file in there,
we should see it on our host machine.
vagrant@acp:~$ echo "Hello Windows, from Linux" > shared/hello.txt
vagrant@acp:~$ ls -l shared/
total 1
-rwxrwxrwx 1 vagrant vagrant 26 Aug  3 10:17 hello.txt
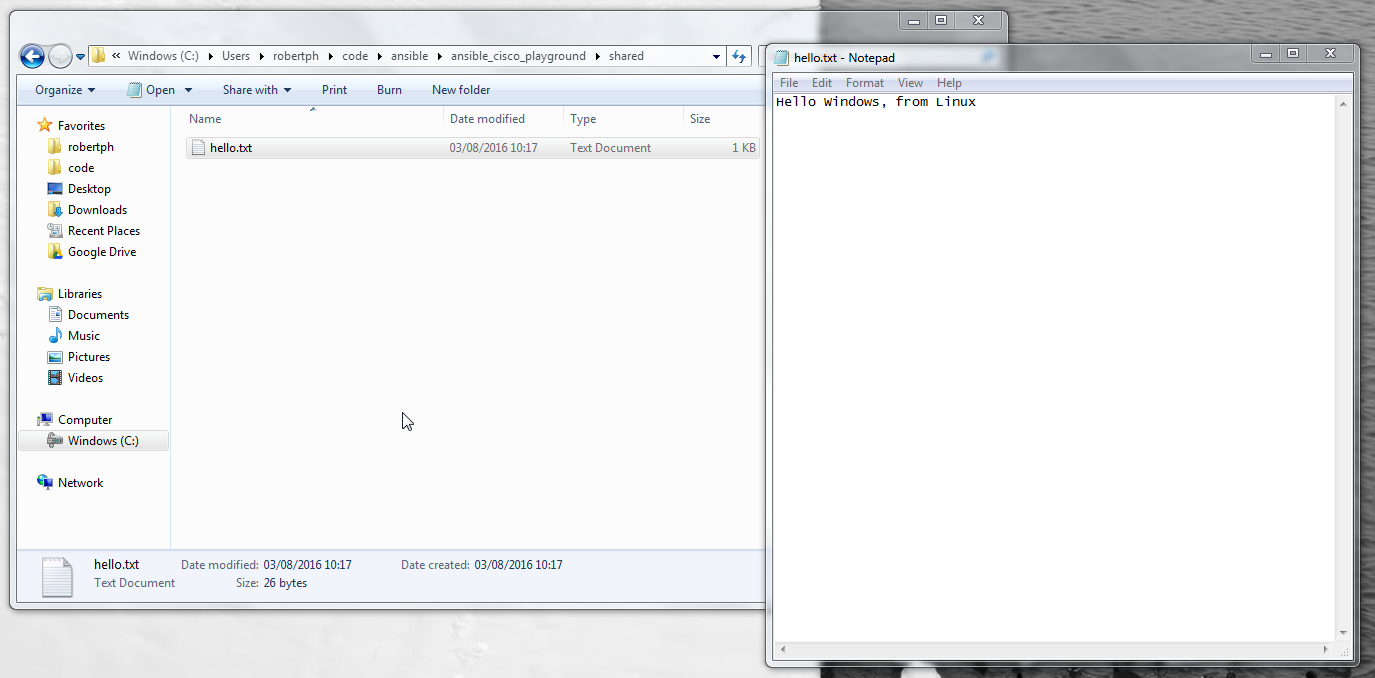
Good good, we can now start creating our Ansible files on our host machine, and
easily run them in the Vagrant VM. And when we need to share what we’ve done,
we can just zip up the directory, or version control it in git, share it, and
others can vagrant up and vagrant ssh into the working environment we’ve created.
This Ansible Cisco Playground directory is up on Github if you want to clone/download it and have a play. It is a work in progress, and a little janky currently, with no documentation, but here it is nonetheless.